
Getting Started as a Seller
Start your journey on 1 Market Philippines by creating your seller account. Learn how to register with your email, verify it securely, and prepare for onboarding.
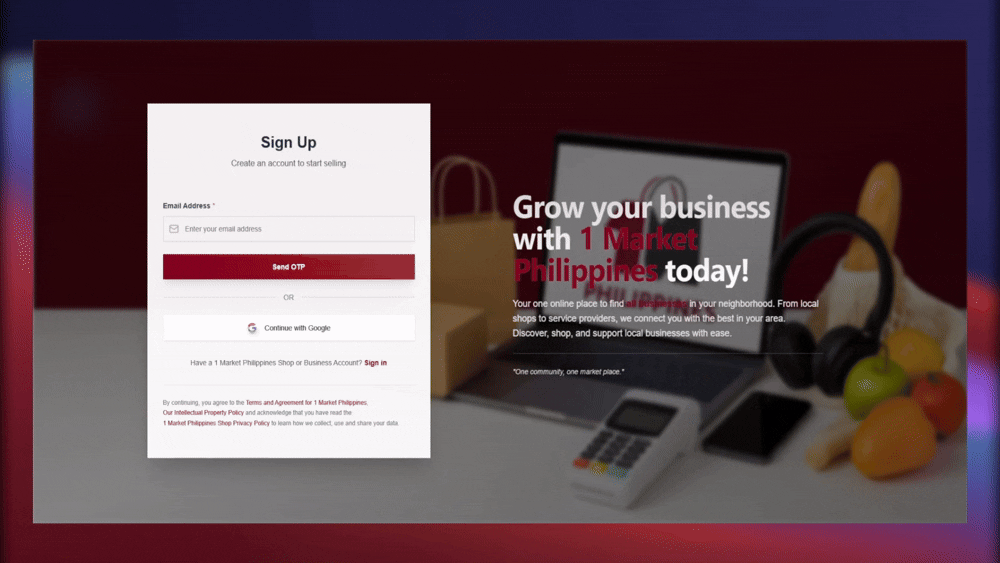
Seller Account Registration
To begin selling on 1 Market Philippines, you must first create a secure and verified seller account. This initial step is important because it connects your business identity to a verified email, which will be used for future logins, security alerts, order updates, customer messages, and payout notifications. Using a real, active, and accessible email address is critical.
⚠️ Important Reminder Before You Start:
- Your email address cannot be changed after registration. Choose your email wisely — preferably one that you check often and is tied to your business.
- Do not use a temporary or dummy email. This will cause issues in verification, login recovery, and accessing seller features like order tracking and payment setup.
- Make sure your inbox is not full or spam-filtering our emails — especially the one-time verification code.
Watch the Walkthrough:
Here’s a quick preview of how to complete the seller registration form:
Step 1: Access the Registration Page
- Go to https://selleronemarketphilippines.vercel.app/sign-up using any browser on your phone, tablet, or computer.
- You will be greeted with a registration form that includes basic login credentials and agreement checkboxes.
Step 2: Enter Your Registration Details
-
Email Address:
Enter a valid and regularly used email address. After you type your email, a 6-digit verification code will be sent to your inbox. This will be your permanent login ID.- Make sure you enter it correctly. Typos can prevent you from verifying your account.
- Check your spam or promotions folder if you don’t see the code right away.
- If the code doesn't arrive within 60 seconds, a “Resend Code” button will appear.
-
Email Verification Code:
Retrieve the code from your inbox and input it into the verification field. This confirms that you own the email address and allows you to proceed. -
Password:
Create a secure password with a combination of 6–20 characters. We recommend including at least:- 1 uppercase letter (e.g., A, B, C)
- 1 number (e.g., 0–9)
- 1 special symbol (e.g., @, #, !)
-
Confirm Password:
Retype your password exactly to confirm there are no typos. If they don’t match, you won’t be able to continue. -
Accept Platform Policies:
Before continuing, you must read and agree to the following: These policies protect both you and your customers by ensuring fair, secure, and transparent business practices.
Step 3: Proceed to Seller Onboarding
Once your email has been successfully verified and your password is set, you’ll be redirected to the Seller Onboarding Form. This next section is where you’ll provide important business details that will help our admin team verify your identity and activate your selling privileges on the platform.
We’ll guide you through this in the next topic, which includes uploading documents, providing contact details, and selecting your business category. You’re now one step closer to launching your store!
Related Topics
About 1 Market Philippines
Discover the mission, vision, strengths, and community-driven values behind 1 Market Philippines — the localized digital marketplace built to empower small businesses.
Seller Account Types
Discover the different types of seller accounts available on 1 Market Philippines, and learn which one fits your business best, along with their required verification documents.
Seller Onboarding Process
A complete guide to filling out your seller onboarding form after registration — including store details, business information, and required documents.